Showing posts with label tomatoes. Show all posts

Tuesday, March 15, 2016

Spicy Mince on Aubergine Slices


This spin on the ubiquitous "mince on toast" has become a favourite of mine ever since I tried something similar in a local cafe. A slice of aubergine (or eggplant if you must) replaces the carbs, making it a delicious but light dish.

I did my own take on it back home and it's now a regular, simple supper, even winning over the "not too fond of aubergine" person (too bad if he's just being polite!).

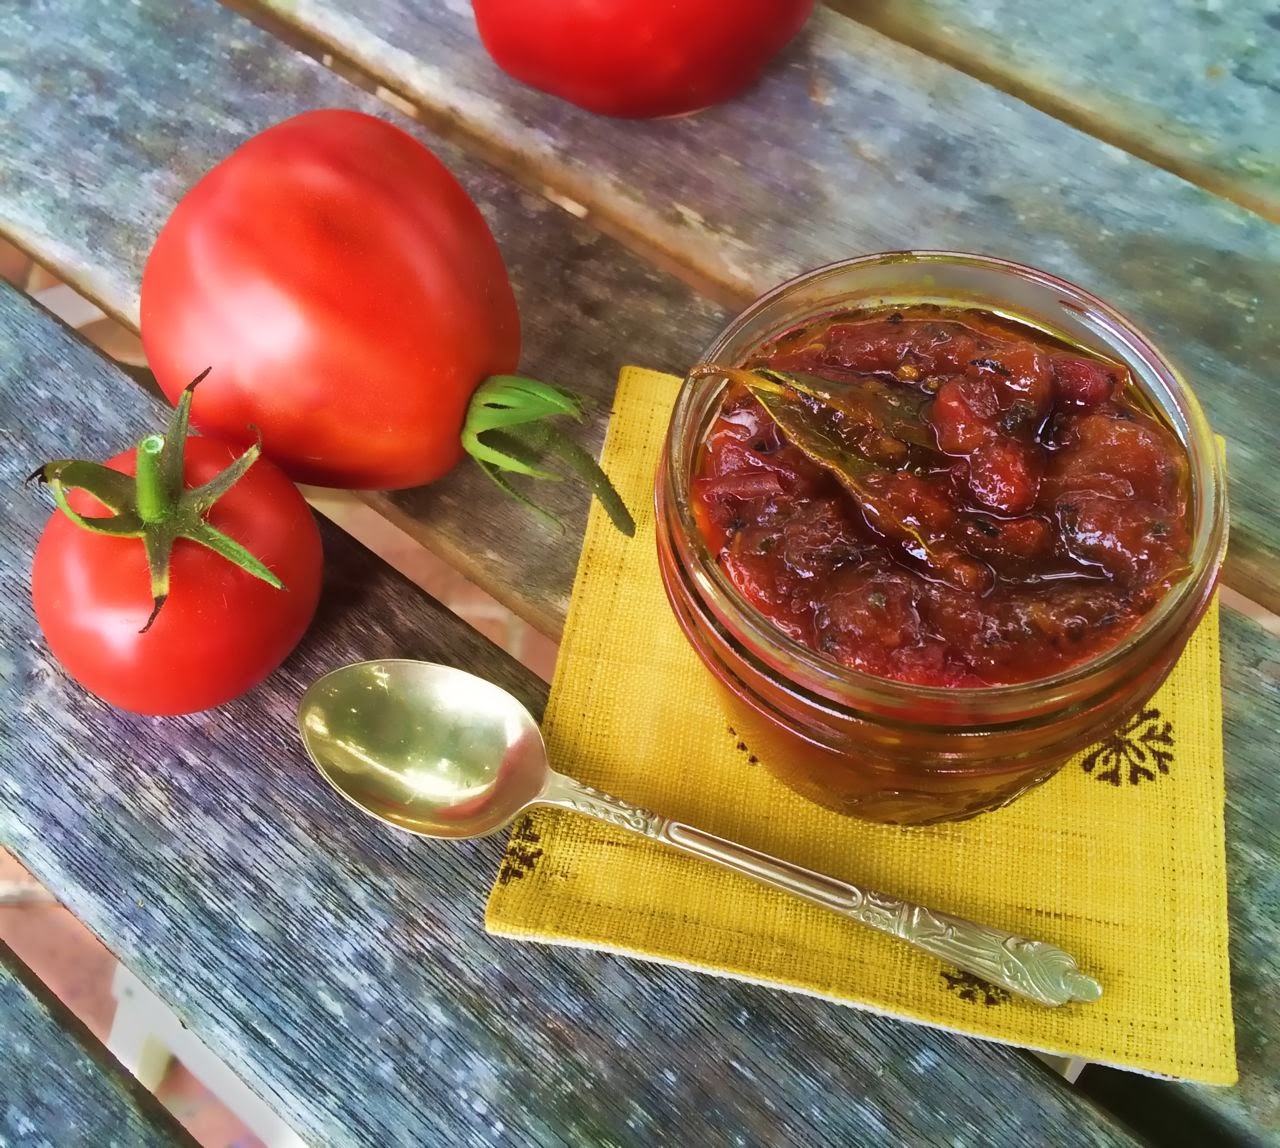
Use your favourite bolognese or savoury mince sauce. For two people, one large aubergine should be enough and there may even be sauce left over for another mince dish - just depends on your appetite.

Here's my simple (but very adaptable) bolognese sauce.

Bolognese Sauce

1 tbsp olive oil
1 medium onion, finely chopped
1 clove garlic, crushed
500g premium beef mince
1 tin (400g) crushed Italian tomatoes
1/4 cup tomato paste
1/4 cup water
1 beef stock cube, crumbled
a few drops of Lea & Perrins worcestershire sauce (optional)
1/2 tsp each of dried basil, oregano & sugar
salt & pepper

Optional but recommended: add fresh chopped herbs e.g. basil, oregano, thyme once cooked. Coriander is nice if you are using the sauce for spicy dishes.

Heat oil in a medium-large saucepan. Add onion and garlic and cook gently, stirring constantly, for 5 minutes until onion is translucent and soft.

Turn heat up, add mince, stir constantly over high heat, breaking it up as you go. Cook until browned.

Add tin of tomatoes, tomato paste, water, stock cube (crumble into sauce), dried herbs, sugar, salt and pepper and simmer over a low heat for 20-30 minutes (add a little water if it begins to dry).

Turn off the heat and stir in fresh herbs, if using.

Sauce can be chilled in fridge or frozen.

To make the Spicy Mince on Aubergine Slices (use a ridged grill pan or outdoor barbecue).

This isn't so much a recipe, more a few ideas on how to put together.

One large aubergine (for two serves)
Olive oil
pre-made bolognese sauce (see above)
fresh chilli or hot chilli or harissa paste
grated cheddar cheese or mozzarella
fresh, chopped coriander leaves
sour cream

Spice up the bolognese sauce by adding a finely diced fresh chilli pepper or hot chilli sauce or 1/2 to 1 teaspoon of harissa paste or any other little wonder sauce (check the heat is to your taste).

Preheat the grill and the barbecue (if you are using a barbecue for aubergines).

Place the ridged grill pan on a medium heat whilst you prepare the aubergine. Rinse the aubergine and dry. Remove top and bottom. Cut into 1cm thick long slices (see photo above). If you leave the curvy bits on it makes it difficult to cook evenly so trim to make both sides flat.

Brush some olive oil on one side of aubergine slices and place oil side down on pre-heated ridged grill pan. Cook until brown on underside. Brush more oil on top side then turn over slices and cook until browned and tender. Transfer to a warm plate. If aubergine slices are too oily, place them on paper towels.

Put cooked aubergine slices on a baking tray. Spoon spicy mince evenly over top.  Grate some cheddar cheese (or mozzarella) on top.  Place under the baking tray under the grill until the cheese has melted.

Transfer to warm serving plates and top with a spoonful of sour cream, a drizzle of hot chilli sauce and a sprinkle of freshly chopped coriander leaves.

Serve on its own or with a salad.

Sunday, March 2, 2014

Tomato Chutney in a hurry


Sometimes I can't face banging around with pots and pans and sterilizing and labelling - all those things that precede a glittering array of sealed jars of bottled fruit and preserved chutneys to see you through the winter.

For those of us who want the tastiness of a spicy tomato chutney without all the fuss, this is a quick and easy recipe adapted slightly from Anjum's New Indian cookbook.   It's been great for using up our little crop of garden tomatoes - especially good smeared over a sandwich or on top of  crackers and our local Mercer cumin gouda cheese.  I've also used it as a relish for corn fritters or add it to spice up a sauce.

It usually takes the two of us some time to polish off a jar of chutney but this one's been so popular that I ended up making another batch after we'd scoffed the first lot in record time.

Adjust the chilli flakes to how much heat you want - I used 1/4 teaspoon the first time, but upped that to 1/2 teaspoon for this last batch for a bit more fire.

Tomato Chutney

Makes 1 small jar 

1 tbsp olive oil
1 bay leaf
1 tsp mustard seeds
1/4 - 1/2 tsp chilli flakes (or dried chilli)
2 large tomatoes, chopped
1/4 tsp turmeric
salt (1/4 to 1/2 tsp - adjust to your own taste)
4 tsp sugar
1 1/2 tsp sultanas
1 tsp fresh ginger, finely grated
1 tsp red wine vinegar
50ml water

Heat the oil in a medium sized heavy based saucepan.  Add the bay leaf, mustard seeds and chilli flakes and cook until the mustard seeds start to pop.

Add the tomatoes and turmeric and stir for a few minutes until soft.  

Add the remaining ingredients, bring to the boil and then simmer for 5-7 minutes until thickened slightly.

Cool and place in a sterilized jar (the only amount of fiddling you'll have to do).  Keep in the fridge and use within 7 days. Not hard really.


Saturday, February 8, 2014

Gazpacho


I’ll be the first to admit that this is cheat’s gazpacho made with tinned tomatoes not fresh, but when your own crop is nowhere near ripe and store bought are flavourless then I really am not going to apologize. If you’ve got tasty, ripe, fresh tomatoes go for it.

I’ve made this twice so far this summer.  First was Christmas Eve in Taranaki when I’d been rostered on for dinner on Day One.  Arriving at 3.30pm after a long drive from Auckland, I set about making it (after first refreshing with a cup of tea and slice of Christmas cake). I was under a bit of time pressure to chill the gazpacho down (yes, serves me right for using a cooked tomato sauce instead of fresh tomatoes!). In the end I poured small amounts to just cover the bottom of several ice cream containers and placed them in any fridge or freezer I could find and thankfully managed to get the soup to the desired chilled temperature. 

Having learnt my lesson, the second time was far easier as I made the entire soup dish at home, froze it and took it down with us early morning for a weekend in Tairua.  It was left to defrost during the day (out of the fridge), and reached perfect chill temperature just in time for dinner.  From there it was an easy assemble into glasses (I like to take these with me as I can’t always guarantee I’m going to find the right vessels at the holiday home).  It also won a gold star from me as the easiest, no-stress dish I’ve ever had to present at a shared meal.

The recipe is my adaptation and combination of two Jamie Oliver recipes – his Spanish Gazpacho from Jamie Does and his simple but wonderful tomato sauce from The Naked Chef, which I use for just about everything – pasta, pizza base, shakshouka et al.

For the gazpacho, I cook the sauce first and then, once chilled, add the additional elements for the soup.

It’s the perfect little starter for an outdoor evening meal or serve it at lunch with breads, cheese and antipasto platters.

Gazpacho

Basic sauce

1 tbsp olive oil
1 large clove garlic, crushed
½ - 1 red chilli, chopped & seeds removed or 1 small dried chilli, crumbled
2 tsp dried oregano
2 tins whole Italian cherry tomatoes (or Italian tomatoes)
½ tsp sugar
1 tbsp good quality balsamic vinegar
a handful of fresh basil or marjoram or Italian parsley (or combo of two)
salt & freshly ground pepper
1 tbsp good quality extra virgin olive oil

Additional elements to make the Gazpacho 

¼ of a day-old ciabatta loaf (250g)
1 tsp harissa (I use Greg Malouf Red Harissa)
¾ Lebanese cucumber, peeled, roughly chopped
1 red or yellow pepper, deseeded & roughly chopped
splash olive oil
splash balsamic vinegar

To serve

finely chopped red pepper
fresh herbs
extra virgin olive oil
good balsamic vinegar
sea salt & freshly ground pepper

For the tomato sauce


In a thick-bottomed pan, gently fry the garlic with the olive oil, then add the chilli, oregano and tomatoes.  Mix gently, being careful not to break the whole tomatoes (according to Jamie, this will make the sauce slightly bitter).

Bring to the boil and simmer gently for 1 hour.  Stir in the balsamic vinegar and sugar.  If you’re using as a sauce only, either chop or use a potato masher and crush the tomatoes into the sauce. Add the herbs.  Season well to taste and stir in the extra virgin olive oil.

Use as a sauce or leave to cool for the following Gazpacho recipe.

For the gazpacho


Slice the bread and remove crusts.  Place in a bowl with 100ml cold water for about 5-10 minutes.

Place cooled tomato sauce mix in liquidizer or food processor and whiz.  Squeeze the water from the bread and add the bread, pepper, cucumber, harissa and a splash of cold water to the bowl and whiz again.  The colour will change to a more pinky-orange because of the bread.  Add more water if required to get to the right “soup” consistency.  Adjust seasoning to taste.  Add more sugar if necessary. Either place in a covered jug in the fridge to chill or freeze. 

Serve at chilled temperature in soup bowls or glass (I prefer glasses). 

Drizzle the top with good quality extra virgin olive oil and balsamic vinegar (or sherry vinegar, if you have it).  Garnish with finely chopped red pepper and finely chopped fresh herbs e.g. basil, thyme, marjoram, Italian parsley.

I offer teaspoons, but it can be either spooned or sipped from the glass.

Tuesday, November 12, 2013

Salmon Quiche


I have this theory that Jamie Oliver is on speed which is why he can claim 15 or 30 minute meals that, in my reality anyway, take far longer. I just can’t get the hang of how he sets out the recipes, so I deconstruct and put it all back together again, but differently.  In spite of the time, I find his recipes extremely tasty and I’ve been using them a lot lately but when I really want something quick this recipe is one I use again and again.

It’s one of those self-crusting tarts that is quick, easy to throw together and open to all sorts of variations - which is always a good thing.  Instead of salmon, substitute cooked chicken or chopped ham or roasted vegetables. Lately I’ve been using Regal salmon which makes for a richer (and more expensive) tart but tinned salmon or tuna will do just fine.

I like to drizzle a teensy drop of balsamic vinegar or vincotto on each tomato (I don’t know why, I just do), then finish it off with a good handful of chopped herbs - coriander, Italian parsley and basil or a little dill are good. 

Serve with pickled pears or chutney and a green salad or vegetable dish such as the sweet stem broccoli recipe below.

Salmon Quiche

Serves 3-4

1 onion                                              
3 eggs                                                
50g/¼ cup melted butter               
1 cup grated cheddar cheese
1 cup milk
½ cup self-raising flour
1 tin 210g red salmon, drained or 200g Regal wood roasted salmon, skin removed
2 tomatoes, sliced or several cherry tomatoes halved
fresh herbs, e.g. basil, Italian parsley or coriander

Heat oven to 180°C.  Grease a flan tin or dish.

Chop onion finely in a food processor.  Add the eggs, cheese, milk and salt and pepper and whizz to combine.

Pour the melted butter and self-raising flour into the mix and whizz briefly to combine.   Pour into the greased flan dish.

Break small chunks of salmon and place evenly around the dish.  Arrange tomato slices or halved tomatoes across the top (and if you want, dot some vincotto or balsamic vinegar on each tomato).  Sprinkle with herbs.

Bake for approximately 45-50 minutes in the oven.


Sweet Stem Broccoli with Zesty Lemon

For me, the hardest thing about broccoli isn’t the spelling of it (and judging by the grocer’s blackboards, I’m not the only one), but the eating.  Apart from a few odd pieces here and there (drowned in cheese sauce or disguised in Asian stir fries), I have avoided broccoli.  So it was nice to discover a younger, sweeter broccoli that I actually liked eating. Bellaverde Sweet Stem Broccoli is from The Fresh Grower and is local (very local to me) – just strange that I always seem to find it in city supermarkets rather than here.  Maybe I could find a field nearby growing it?

There was a nice recipe on the pack so I’m proud to give you the one (and maybe only?) broccoli recipe on this blog.

Sweet Stem Broccoli with Zesty Lemon

1 pack (250g) Sweet Stem Broccoli (or use ordinary broccoli but cook for longer)
salt
2 tbsp butter
½ lemon zested
1 tsp minced garlic
¼ tsp freshly ground black pepper
Sesame seeds or pinenuts

Blanch the broccoli in a large pot of boiling salted water for 2 minutes.  Drain immediately and immerse in a bowl of iced water.

Melt the butter in a pan big enough to hold the stems flat in one layer.  Add the lemon zest (reserve a little to serve) and garlic and stir.

Drain the broccoli and add to the pan.  Stir to coat the broccoli and heat for 2-3 minutes (until heated through).

Toss the broccoli with ½ tsp salt, ½ tsp pepper, sesame seeds or pinenuts and sprinkle the remainder of the lemon zest on top.